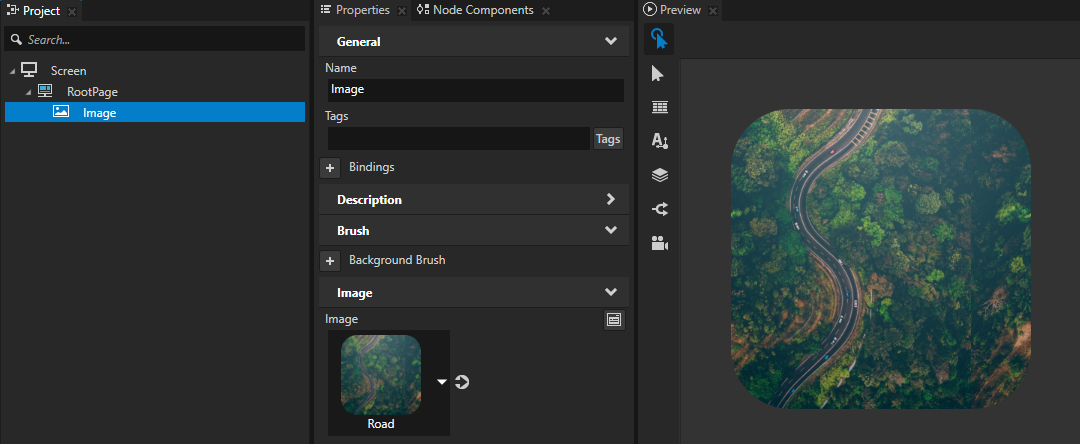
Using the Image node
Use the Image node to show a bitmap image.
Use image files to bring bitmap assets to Kanzi Studio. You can import images to Kanzi in these file formats:
- .png, including the alpha channel
- .tga, including the alpha channel
- .psd, including layers. See Importing Adobe Photoshop files with layers.
- .dds, can contain cubemaps, mipmaps, or both
- .bmp, .exr, .gif, .hdr, .ico, .iff, .jng, .jpg, .jpeg, .jif, .mng, .pcx, .pmb, .pgm, .ppm, .pfm, .pict, .ras, .sgi, .tiff, .tif, .wbmp, .xmb, and .xpm
For optimal application performance, make sure that you correctly set up the images in your Kanzi Studio project. See Images and textures best practices.
Creating an Image node
To create an Image node:
- In the Assets window click Import Assets.

- Select the files you want to import and click Open.
- Drag an image from the Assets and drop either in the Preview or any 2D node in the scene graph in the Project.
- (Optional) For the image you use you can set the target format that is the most suitable for your application. See Setting the target format for an image.
or
- In the Project press Alt and right-click the node where you want to create an Image node and select Image.
Note that you can create a 3D node only inside 3D nodes, and 2D node only inside 2D nodes.
- In the Properties set the Image property to the image you want the Image node to show.
The Image node inherits the width and height from the image set in the Image property. To set a different size, add and set properties:- Layout Width and Layout Height to set the size of the Image node.
- Content Stretch to set how Kanzi stretches the content of the Image node.
- (Optional) Set the image position by setting the Horizontal Alignment and Vertical Alignment properties.
- (Optional) For the image you use you can set the target format that is the most suitable for your application. See Setting the target format for an image.
Setting the target format for an image
When you export your project to a kzb file, Kanzi Studio reads the images in the project using the format of the original image and writes the images to a kzb file in the format you set with the Target Format property for each image.
If the file format of the original image is the same as the format you select in the Target Format property, Kanzi Studio does not modify the image when it writes the image to a kzb file under these conditions:
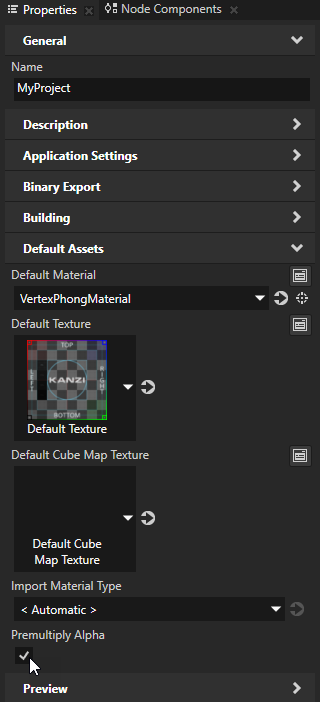
- Premultiply Alpha is disabled, or the alpha channel does not need to be premultiplied
To change this setting, in the > use the Premultiply Alpha property. You can override this value in the properties of the image file where you want to use a different setting.
- Generate Mipmaps is disabled
You can set the value of the Generate Mipmaps property in each image file.
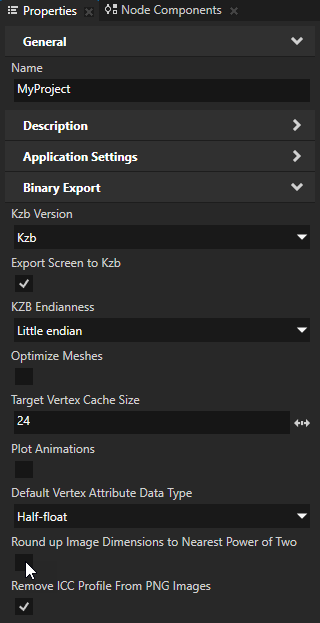
- Round up Image Dimensions to Nearest Power of Two property is disabled
You can set the value of the Round up Image Dimensions to Nearest Power of Two property in the > .
When you enable the Round up Image Dimensions to Nearest Power of Two property, Kanzi Studio rounds up the width and height of the images in your project to the nearest power of two during kzb file export. For example, Kanzi Studio exports an image of the size 40 by 30 pixels to the kzb file in the size 64 by 32 pixels.
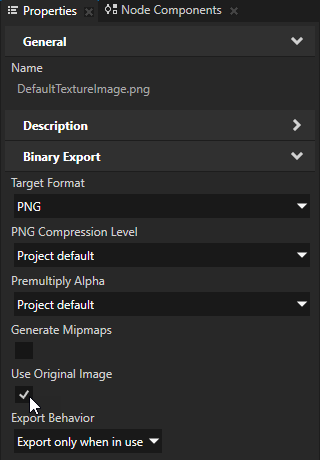
If your image is in JPEG or PNG format and you do not want Kanzi Studio to modify the image that it exports to a kzb file, in the image Properties enable the Use Original Image property.
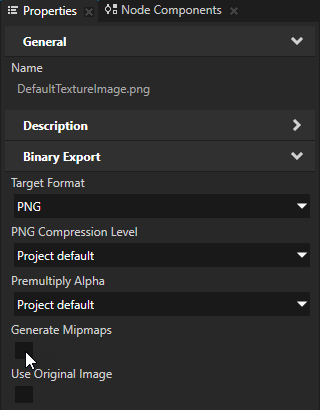
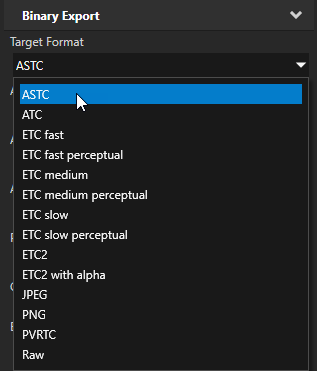
To set the image target format:
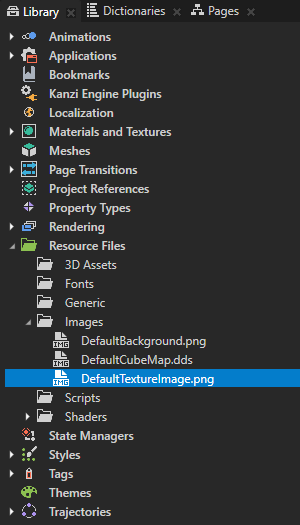
- In the Library > Resource Files > Images select the image for which you want to set the target format.
- In the Properties set the Target Format property to the image format you want to use in your Kanzi application.
The format you select is important because this influences the size of the kzb file and the loading time when your Kanzi application loads the image. Make sure that your target device supports the target format you select for the image. See Images and textures best practices and Compressing textures.
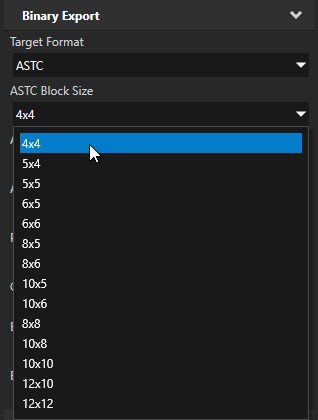
- If the image format you selected in the previous step supports compression, configure the compression scheme you want to use. See Compressing textures.
Using the PNG compression
When you use PNG compression keep in mind that because the compressed PNG images do not go to the GPU in compressed format, PNG compression affects the loading of a PNG image data from a kzb file to the device memory.
Use PNG compression to store and load images from a kzb file. To improve the performance of your application consider using an image format which Kanzi can send compressed directly to the device GPU. See Compressing textures.
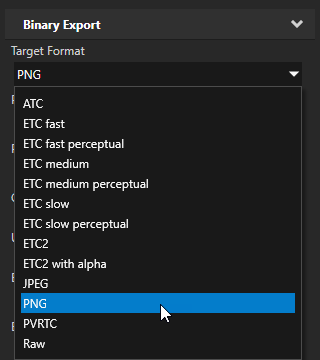
To use the PNG compression:
- In Kanzi Studio in the Library select Resource Files > Images, and select the image for which you want to apply compression.
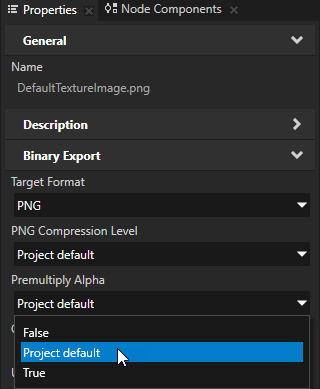
- In the Properties set the Target Format to PNG.
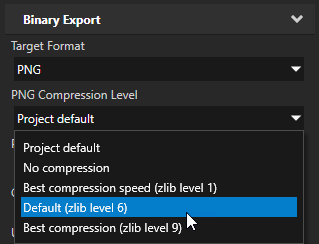
- In the Properties set the PNG Compression Level property to the compression you want to use for this image:
- Project default to use the PNG compression set in the > in the PNG Compression Level property
- No compression to not use compression for the image
- Best compression speed (zlib level 1) creates a larger file, but compresses quickly
- Default (zlib level 6) creates a smaller file, but takes longer to compress. This is the default option of the FreeImage library which Kanzi Studio uses for PNG images.
- Best compression (zlib level 9) creates the smallest file, but takes the most time to compress
TIPYou can set the value of the PNG Compression Level property in the > and in the properties for each image file.
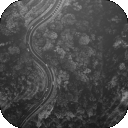
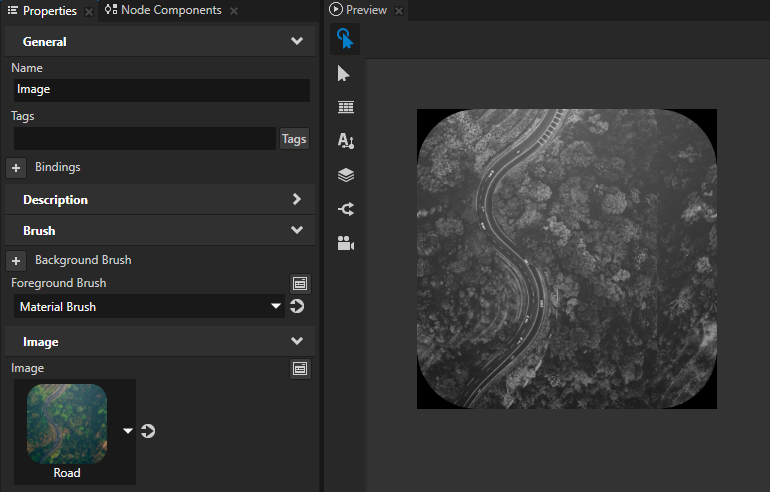
Applying custom rendering to an Image node
Apply custom rendering to Image nodes to create post-processing effects. For example, you can convert color images in a 2D node to grayscale.
To apply custom rendering to an Image node, use the Foreground Brush property to render the node on the screen with a Material Brush. For example, to render content of a node, such as the image in an Image node or text in a Text Block 2D node, use the Foreground Brush property.
To apply custom rendering to an Image node:
-
Create a material with which you want to apply custom rendering.
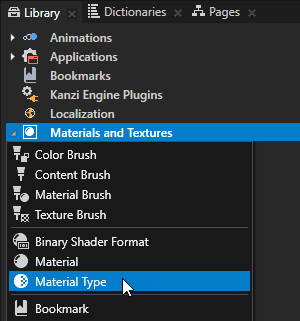
For example, to create a material that converts color to grayscale:- In the Library press Alt and right-click Materials and Textures and select Material Type.
Kanzi Studio creates a material type and a material which uses the material type.
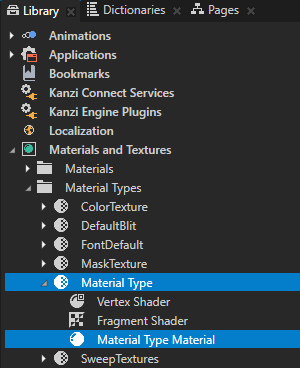
- In the Library > Materials and Textures > Material Types expand the material type you created, double-click the Vertex Shader to open it in the Shader Source Editor, replace the existing shader code with this code, and save the shader.
attribute vec3 kzPosition;
attribute vec2 kzTextureCoordinate0;
uniform highp mat4 kzProjectionCameraWorldMatrix;

varying mediump vec2 vTexCoord;

void main()
{
    precision mediump float;
    vTexCoord = kzTextureCoordinate0;
    gl_Position = kzProjectionCameraWorldMatrix * vec4(kzPosition.xyz, 1.0);
} - Open the Fragment Shader, replace the existing shader code with the code in this step, and save the shader.
In the shader use these Kanzi default uniforms:ContentTexture to define the texture that the rendered node provides when renderingRenderOpacity to define the opacity of the rendered node
See Shader uniforms.uniform sampler2D ContentTexture;
varying mediump vec2 vTexCoord;
uniform lowp float RenderOpacity;
void main()
{
precision mediump float;
// Use this algorithm to convert the colors in the texture used by
// the 2D node to grayscale.
// To integrate to the Kanzi rendering pipeline, the shader must output
// premultiplied alpha.
vec4 color = texture2D(ContentTexture, vTexCoord);
float grayscale = dot(color.rgb, vec3(0.21, 0.72, 0.07));
float alpha = color.a * RenderOpacity;
vec3 premultipliedColor = vec3(grayscale) * alpha;
gl_FragColor = vec4(premultipliedColor, alpha);
}
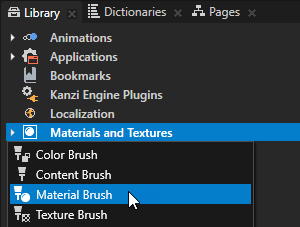
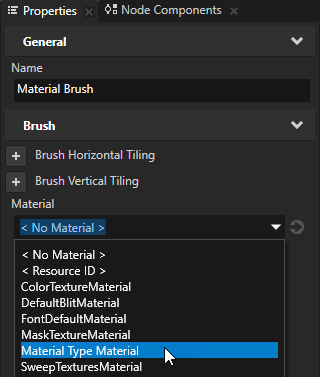
- In the Library press Alt and right-click Materials and Textures, select Material Brush, and set it to use the material you created in the previous step.
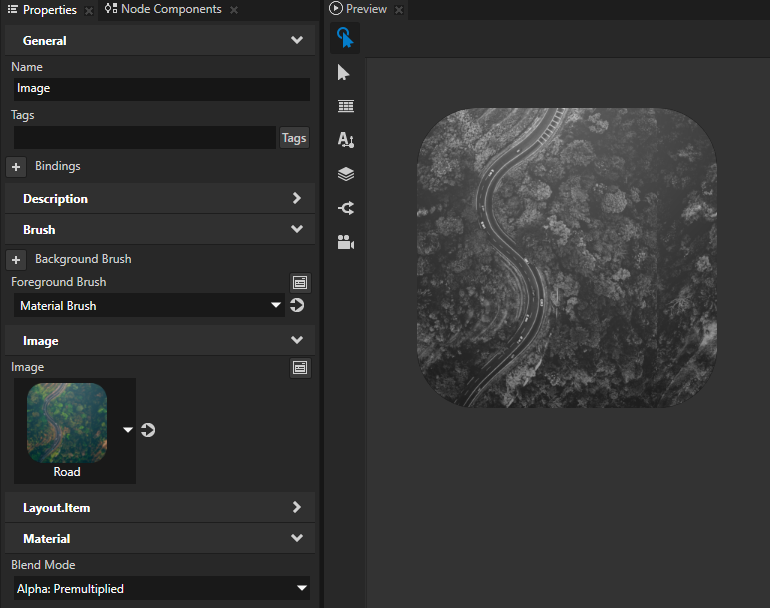
- In the Project create or select the Image node to which you want to apply the material you created, and set the node to display an image.
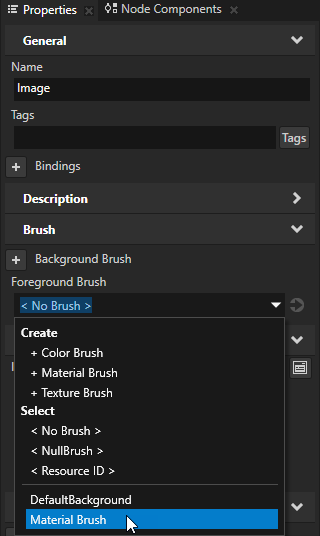
- In the Properties add and set the Foreground Brush property of the Image node to the material brush that uses the material you want to apply to that node.
- (Optional) Set the blending of the image:
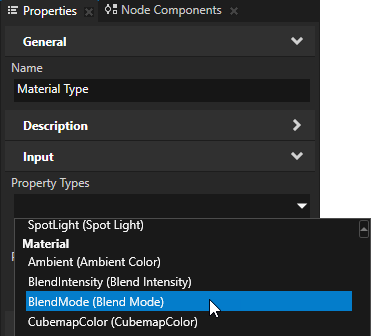
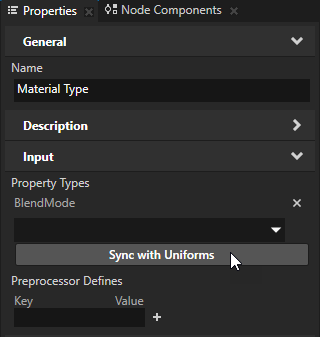
- In the Library > Materials and Textures > Material Types select the material type you created, in the Properties click the Property Types dropdown menu, select Blend Mode, and click Sync with Uniforms.
This way you add the Blend Mode property to the materials that use this material type.
- In the Properties add and set the Blend Mode property in either of these places:
- The Material Brush that uses the material to which you added the Blend Mode property
- The Image node that uses the Material Brush
For example, in the Project select the Image node, in the Properties add the Blend Mode property, and set it to Alpha: Premultiplied.
- (Optional) To adjust the translucency of the image, in the Project select the Image node, and in the Properties add and set the Opacity property.

Setting the appearance of an Image node
To set the appearance of 2D nodes:
Using the Image node in the API
For details, see the Image2D class in the API reference.
Image property types and messages
For a list of the available property types and messages for the Image node, see Image.
See also
Using mipmaps
Images and textures best practices
Using triggers
Enabling the click gesture for a node using Kanzi Studio

Open topic with navigation